Putting things into practice
Or, time to get the model trains out
A couple of times recently I’ve mentioned my vague model railway plans and projects, including the occasional veiled hint that I’ve already been building stock for the most fully-fleshed out of these ideas. At the weekend I had some time to myself, so I unpacked my “mobile workbench” (an IKEA tray with a cutting mat taped firmly to it) and had a look at which projects I could move on with.
The other week I’d been passing my local model shop and popped in to support them by buying whatever bits and pieces I could remember I needed. I’ve been wondering the best way to weight some of my stock, so bought a packet of self-adhesive model aircraft weights. I wasn’t convinced they would be ideal because they’re a bit on the large side for 009 scale, but the 5g size do just fit nicely inside a van.
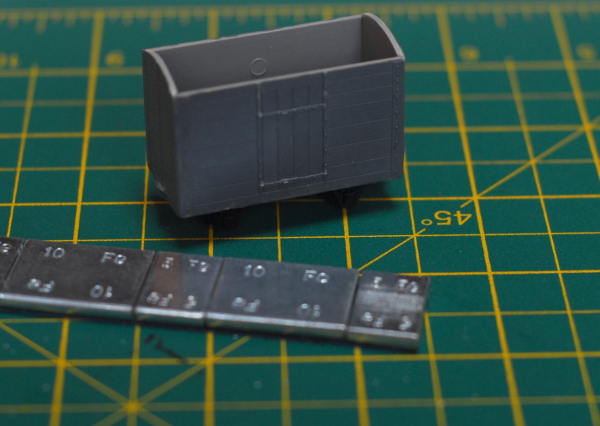
Yes, I know I didn’t clean off the feed mark on the inside of the wagon; nobody’s going to see it, are they. The weights are very keen to tell everyone they are steel, not lead. I wasn’t really sure what amount to go with especially given that (like most Dundas wagon kits) it has plastic bearings; it now has 10g of steel inside it and feels rather heavy in the hand.
Another project that’s been progressing slowly is a Dundas kit for a Ffestiniog & Blaenau Railway coach, which will be a reasonable representation of the first generation of Porthdwyryd & Dolwreiddiog Railway coaches. The sides were painted early on with this kit so that I could glaze it before it was assembled; it still needs another coat on the panels but the area around the window glazing shouldn’t need to see the paintbrush again I hope. In my last train-building session I fitted its interior seating; in this one, it gained solebars and wheels and can now stand on the rails. Its ride is very low, so low that, given typical 009 flanges, it needs clearance slots in the floor for the wheels.
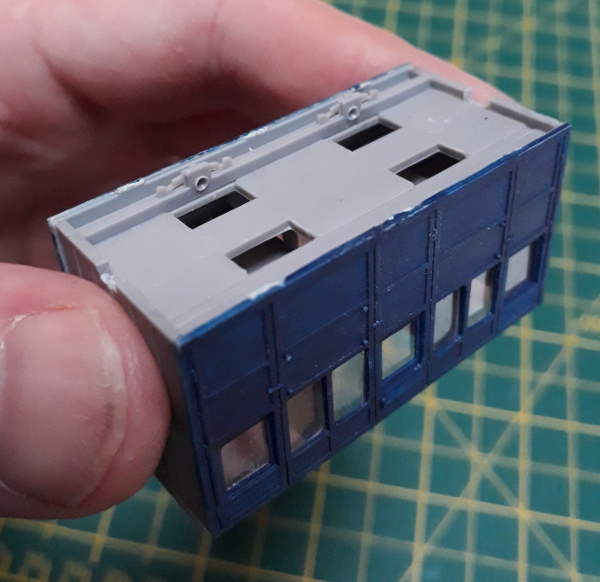
This made it a little awkward to slot the wheels into place, but when I did it all fitted together rather nicely, with little lateral slop in the wheels and a quick test showing everything was nice and square.
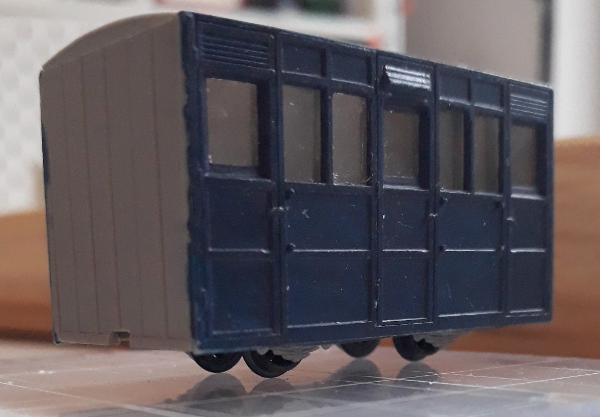
To show just how low-riding it is—like many early narrow gauge carriages—I used a piece of card and a rule to measure how much clearance there is above rail level.
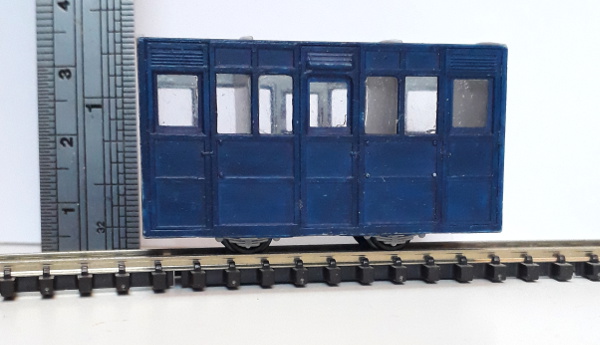
This shows rather harshly that I’ve let this model get a bit dusty on the workbench.
It needs couplings, of course, so I made a start on folding up a pair of Greenwich couplings for it. I’m still trying to find the perfect pliers for making Greenwich couplings. They don’t need any soldering, at least, but they do need folding up from the fret and then fitting the two parts—buffer and loop—together with a pin. These small flat-nosed pliers are very good for getting a crisp fold.
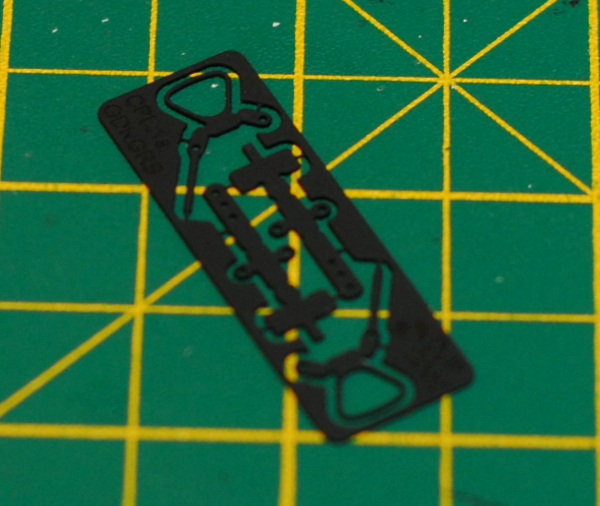
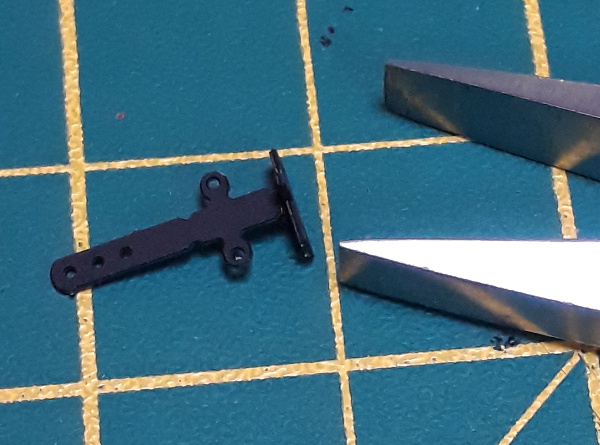
I should give those pictures a caption about the importance of white balance in photography, given how differently the green cutting mat has come out between them. By the time I got to this stage it was starting to get a bit too dark to fit two tiny black pieces of brass together with a black pin and get them moving freely, never mind wrapping ferromagnetic wire around the loop tail. Still, all in all, I think everything seemed to be coming along quite nicely.

 Home
Home