+++*

Symbolic Forest

A homage to loading screens.

Blog : Post Category : Being Crafty : Page 1

Crossing things off

Finish craft projects? Nah. Start new ones? Yes please

There are still numerous craft projects somewhere in mid-flight at Symbolic Towers, and I keep slowly gathering plans for more that I haven’t even started yet. I have enough crochet patterns to keep me crocheting for several years, probably; a very large cross-stitch under way, and several other cross-stitch kits ready to start—and that’s to say nothing of the Lego or the model train kits. None of these things, really, have been posted on here, largely because I think “I’ll save them for YouTube” and then never video them either.

Despite all that, I’ve just started yet another cross stitch project!

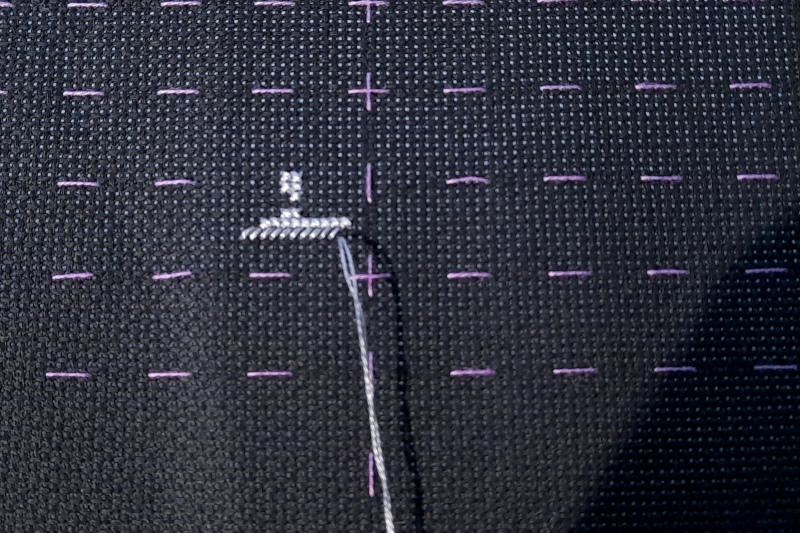
What’s exciting about this project, the reason why it’s using up most of my crafting energy at the moment, is that: for the first time, this isn’t a kit. It’s not even a pattern I’ve bought and then found my own materials for, like most of the crochet projects. No, for the first time, this is a pattern I created myself. I saw something I thought would make a good cross stitch project, turned it (with the help of software) into a chart, and got started.

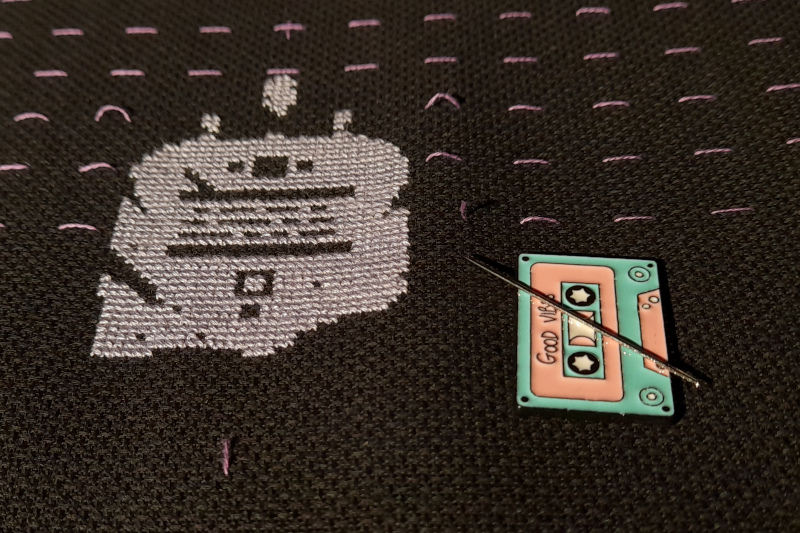
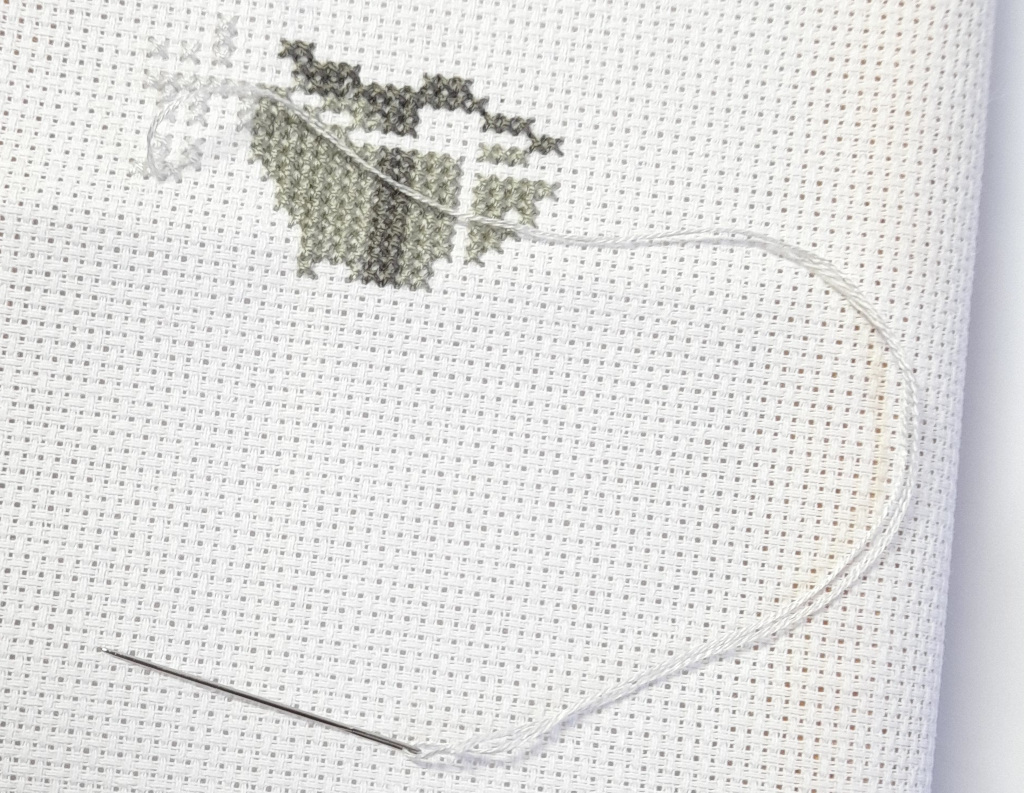
The start of a new cross stitch project

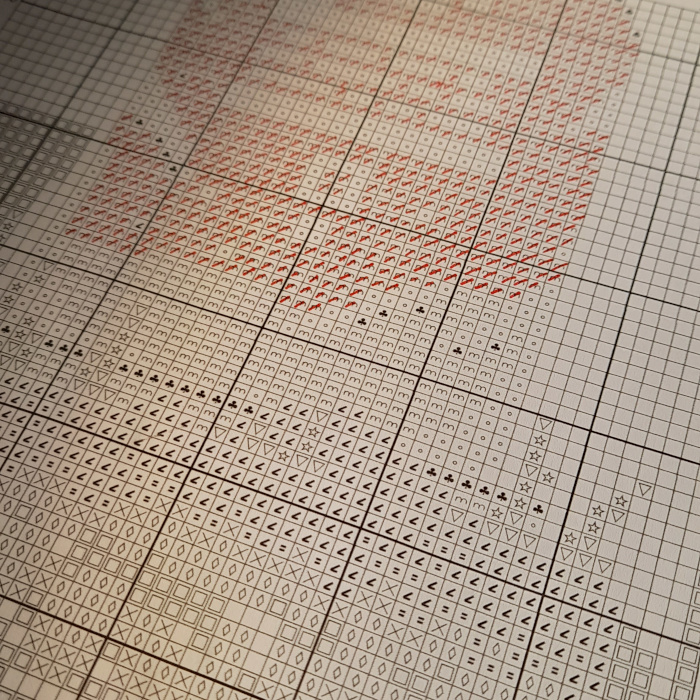
Because this isn’t something that was designed specifically for cross stitch by a specialist cross stitch designer, it does use quite a lot of colours, and it’s going to be a bit more complex than pretty much all of the cross stitch kits I’ve tried so far. Because of that, for the first time, I’ve actually started crossing off each of the stitches on the pattern as I do it—it helps that I know I can always print another copy off, of course. It is definitely going to help the further into this I get, though, especially when I get to the parts of the design which include lots of small areas of different colours, or the parts with lots of confetti—the cross stitch term for single isolated stitches scattered one-at-a-time across the background. This project will have a lot of confetti.

Crossing things off as I go

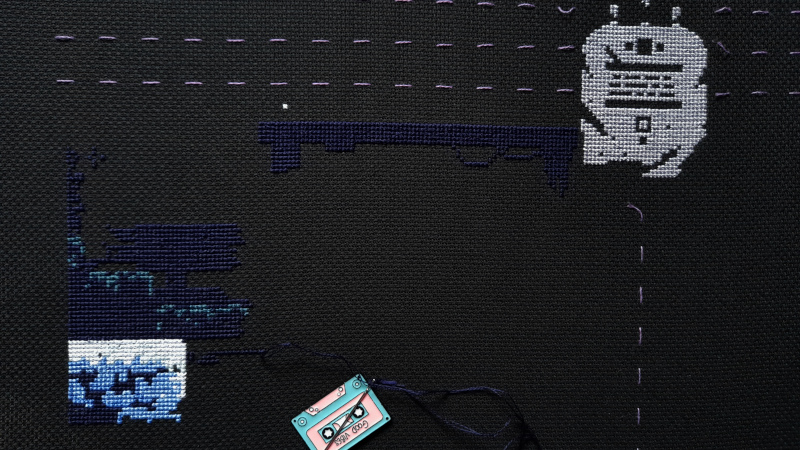
It will be some months before the whole thing is finished, even though it’s not full coverage, and even if I did deliberately avoid including any backstitch as part of the design. For now, though, new project energy is carrying me bowling along at pace. Only a week in, and already I’ve done a good chunk of the pattern’s central, focal point.

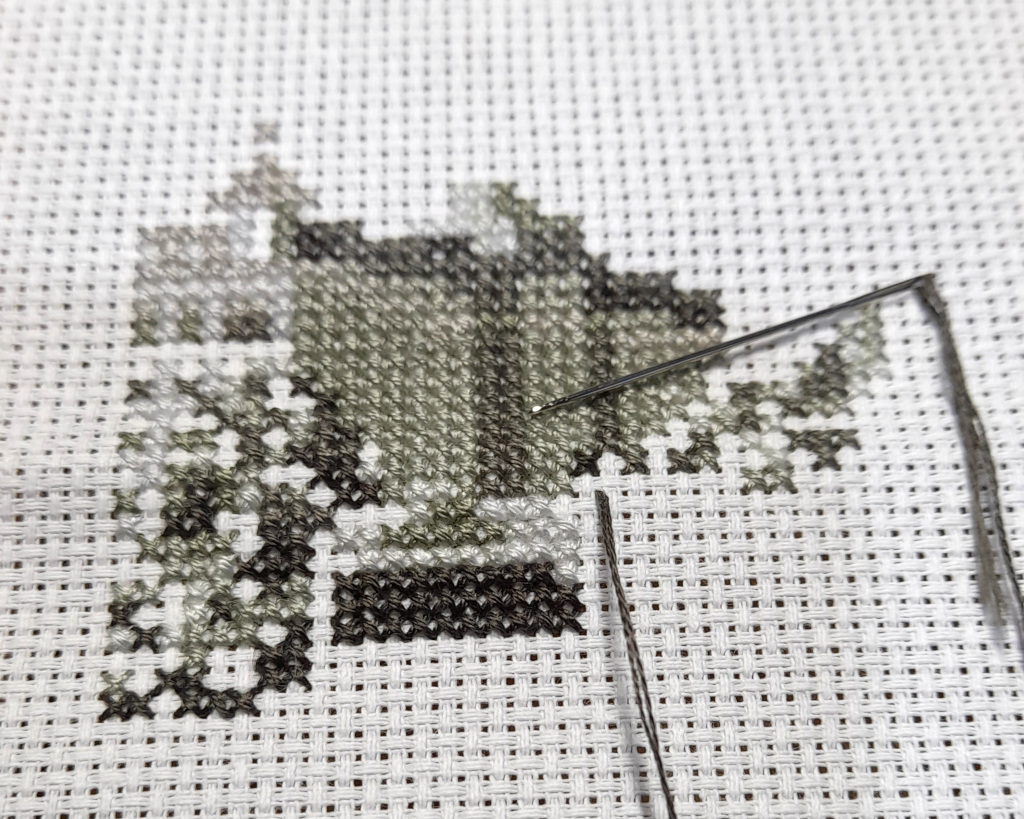
Progress, as of yesterday

That’s quite a good chunk of stitching for one week’s spare evening moments. What is it, you ask? Well, to know that…if you don’t recognise it, you’ll just have to wait and find out.

Typecasting

In which Caitlin is at risk of acquiring a new hobby

One stereotypical nerd gadget I’ve never seen the point of, that I always assumed was the nerd equivalent of hand-woven gold hi fi cables, was the mechanical keyboard. I assumed they were, as the phrase goes, fidget spinners for IT geeks. Something that is expensive and makes lots of fun clicky-clacky noises, but doesn’t actually change your computing experience by one tiny bit.

Well, reader, I was wrong. I admit it. Completely, absolutely, 100 per cent wrong. Switching to a mechanical keyboard has been one of the best productivity improvements I could have made to my workplace. Since I started using one, my typing has speeded up enormously. It’s definitely not just a toy. Having a decent length of travel on each key movement somehow genuinely makes it much easier and quicker for me to type; and also makes my typing a lot more confident. I’ve never learned to type properly, and I still make a lot of mistakes, but in general I’m finding my fingers skip across the keys much more freely.

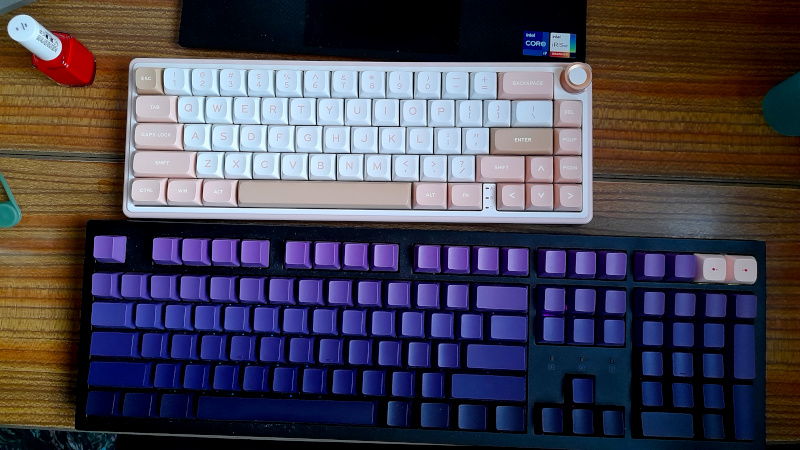
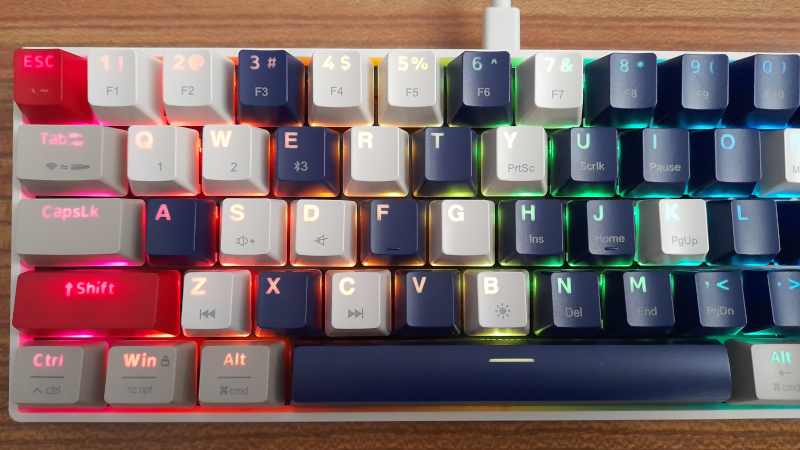
This first started last summer when I was already tempted by the idea, and saw that a fairly cheap model already had been reduced quite a lot on sale. So, I bought it. And, if nothing else, it was pretty. It glowed, with rainbow light. It came with a choice of beige or purple keycaps, so being contrary I naturally changed just half of them over, trying to get a dithering kind of effect from beige on the left to purple on the right. It kind of worked. Typing, though, was excellent.

The mixed keycaps of my first mechanical keyboard, with shine-through legends on the keys

I felt like I was typing much better than I ever had on laptop keyboards, but there was something wrong. Still, I resisted the temptation to be a keyboard nerd. An enthusiast. One keyboard would be enough for me.

The problem with the first keyboard was that it was only a 60% model. In other words, it only has about 60% of the keys of a “full” PC keyboard; just the core letters and numbers really. To get all the other functions, you need a modifier key. A lot of laptops do that to access extra functions or squeeze all of the keys into a laptop case, but this was using it for fairly basic functionality like the four cursor keys. When coding, I find myself moving around with them a lot, so having to chord to use them quickly became annoying. On top of that there were other little problems: the Bluetooth connection would sometimes glitch out, particularly if the battery was low. When the battery ran low the only warning was one of the modifier keys flashing, and then when you charged it up there was no sign of how charged it was. On the good side, its small size made it nice and portable. Overall, it was a good starter.

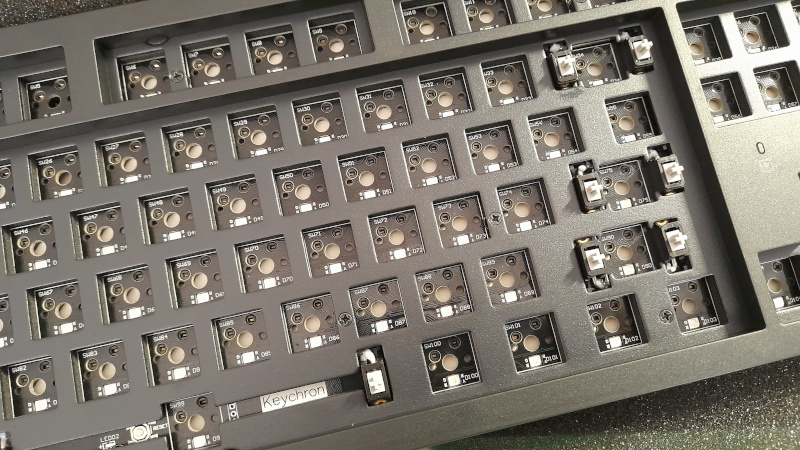
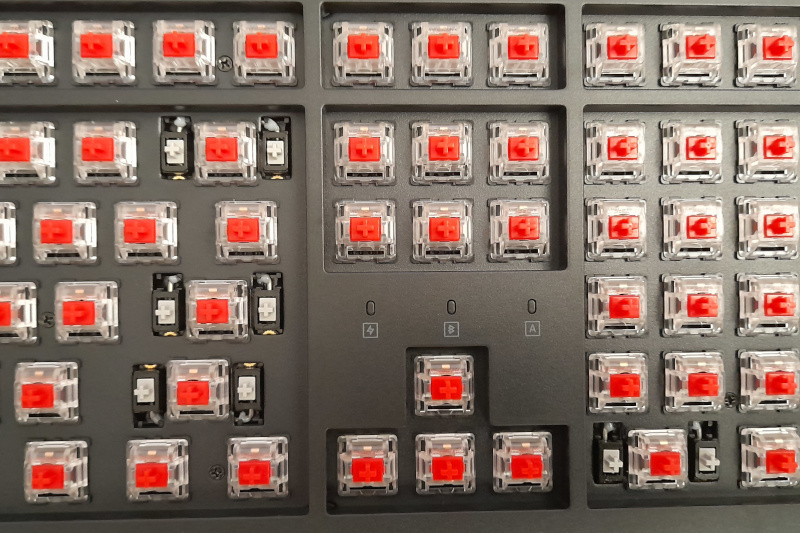
After a few months, I’d decided it was time to think about buying a full-size mechanical keyboard. And why not go all in and just buy a “barebones” model. A barebones keyboard is, well, not really a keyboard at all. It’s the core of a keyboard, but it doesn’t have any keys. You have to fit it out with keyswitches and keycaps for it to work. When it arrived, it was very nicely-packaged, it felt very substantial, solid and heavy, but I couldn’t actually start using it.

The new barebones keyboard, a Keychron K10, without any switches or keycaps

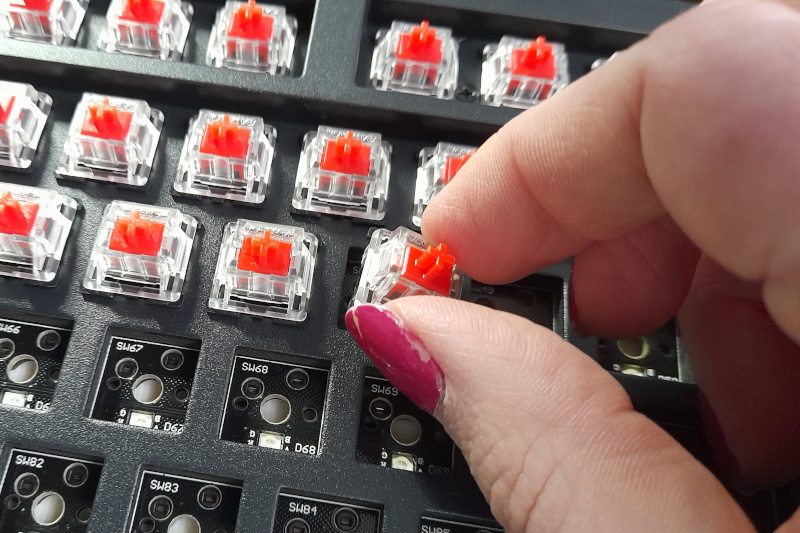
It’s a Keychron K10 model, and all you have to do to get it working is push switches into each of those sockets. You get to choose the brand of keyswitch you want, though, and switch manufacturers publish complex charts of the response and movement of different types of switch, describing them as “soft”, “firm”, “clicky” and so on. I just went for a fairly soft switch from a well-known brand, and set to work plugging them all in. It was quite a therapeutic job, pushing each switch home until it is firmly in place.

Plugging switches into the keyboard.  If I'd been planning to blog about this I'd have done my nails first

All the switch sockets nicely filled in

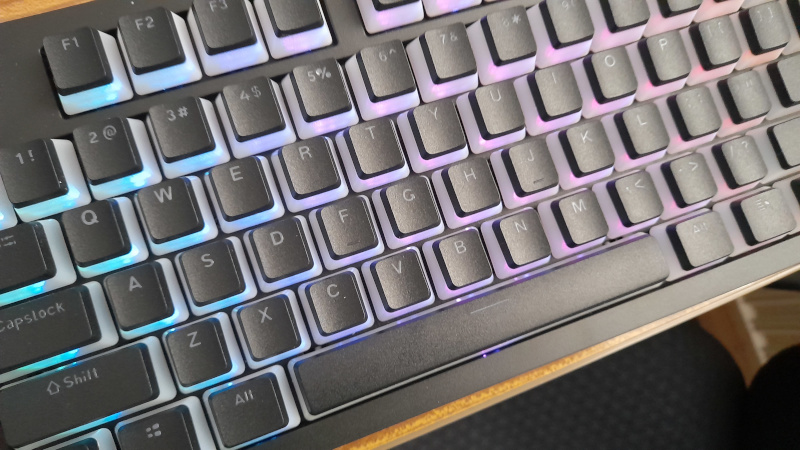
The harder part is choosing the keycaps: harder, because as well as how they feel, they have to look pretty too, and there are an innumerable assortment of manufacturers who will sell you pretty keys. And in the end, I just couldn’t decide, so went with a set of plain black “pudding” keycaps. “Pudding” keycaps have a solid, opaque top but translucent sides, so the backlights on each key shine nicely through. I’m not sure they are the right keycaps for me long-term, but they were a nice and cheap “first set”.

The finished keyboard with pudding keycaps

Am I going to turn into a keyboard nerd? Well, I’ve already tweaked it a wee bit. I kept hitting the “Insert” key by accident, not being used to having a key there, so I’ve already changed the switch on that specific key to be a much firmer, clickier one, so that at least when I do hit it by accident I notice I’ve done it. I’ll probably change the keycaps for something prettier at some point, something a bit more distinctive. I’m not going to go out and buy a lot more keyboards, because I already think this one is very nice to type on. It has a sensible, useful power lamp that flashes when the battery’s low, is red when it’s charging and goes green when it’s finished. But, overall: I admit I was wrong. This is much, much nicer to type on—I’m writing this post on it now—than a standard laptop keyboard is. For something I’ll use pretty much every day that I’m at home, it’s definitely worth the money.

Ongoing projects

As soon as something finishes, I start two more

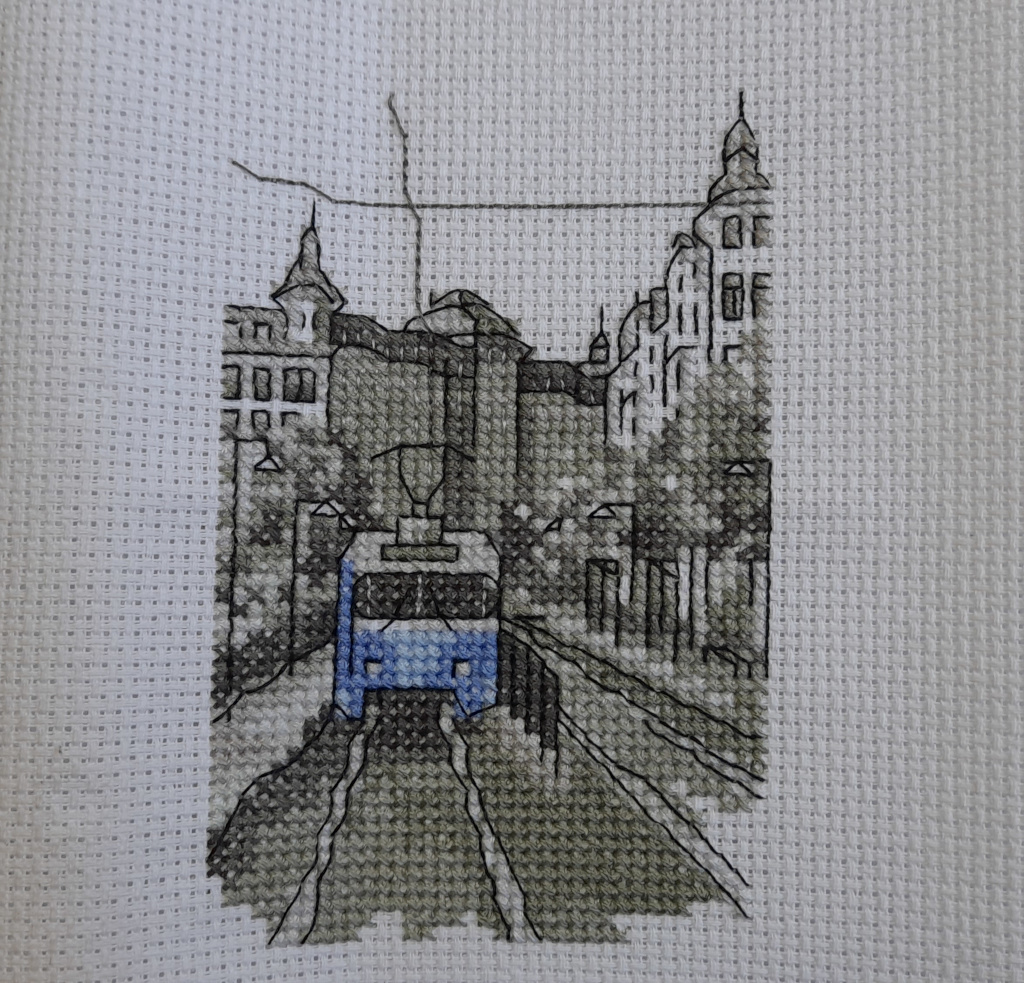
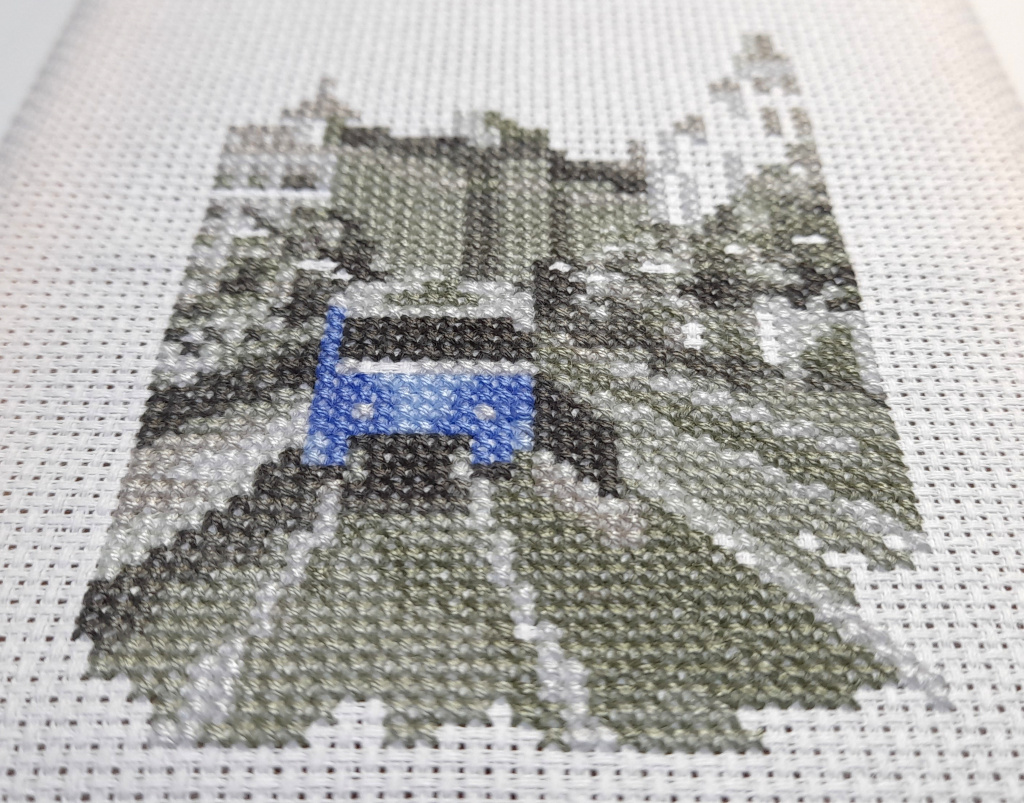
The crafting project I mentioned in my last post is finished! Well, aside from blocking it and framing it, that is.

An actually completed cross stitch project of a Gothenburg tram

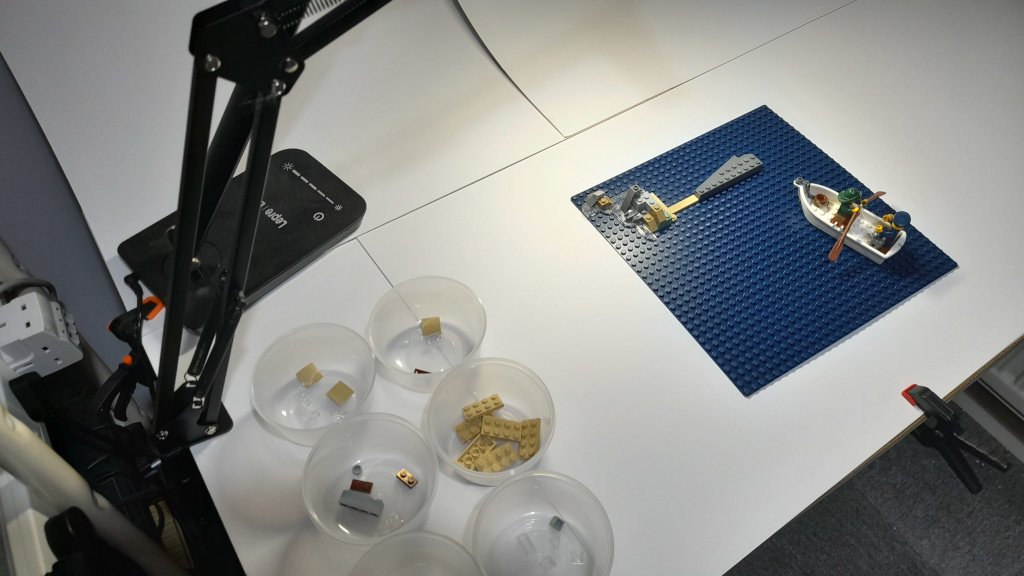
Me being me though, I couldn’t resist immediately starting two more. And then, of course, there’s the videos still to produce. I will get to the end of the list, eventually. In the meantime, here’s some photos of a few of the things in progress.

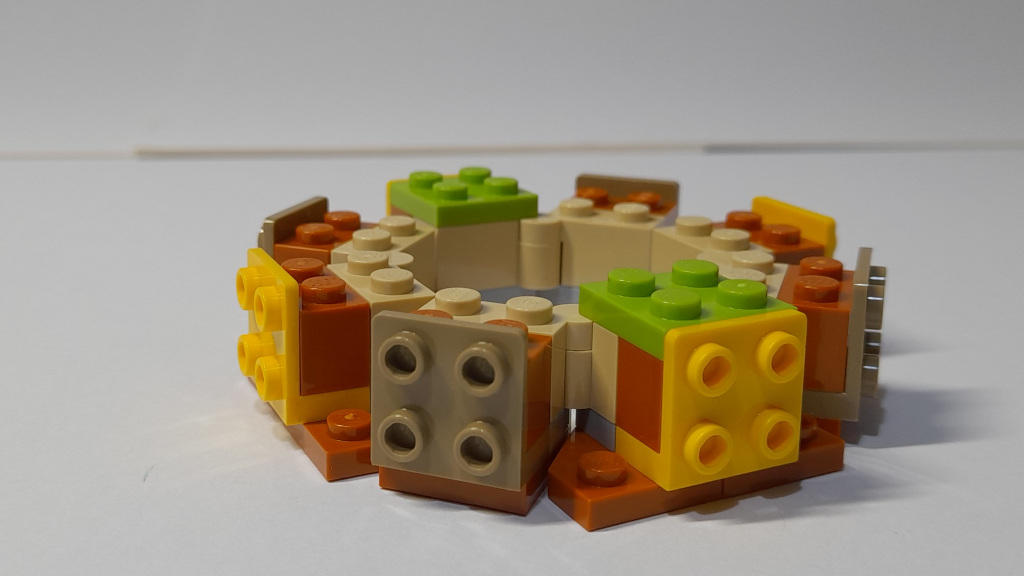
An in-progress Lego project all set up for filming

An in-progress crochet creation; this photo is from a few months ago but I still haven't produced the video about it

Frame from another in-progress Lego build which will probably be the first of these to hit YouTube

At some point, I promise, all of these projects will be complete and will have videos to go with them! Better make a start…

Crafting starts again

Or, a new project is embarked upon

It’s been all quiet on here for the past month, and all quiet on the YouTube front too. I do have a couple of projects waiting to be turned into YouTube videos, you see, but that means putting all the video footage together, assembling it, writing the voiceover, recording the voiceover and then cutting the whole thing so that the one fits the other. It’s a surprising amount of work if you do it like that, and I’m not sure my degree of anal perfectionism will allow me to do it any other way. Those videos will make it to an Internet near you, but not until some time in the middle of March at the earliest.

What have I been doing, then aside from that? Sorting out The Late Mother’s paperwork for one thing, naturally. But also, picking up another craft project that arrived for my birthday. I do have a massive cross-stitch project that I bought myself a while ago waiting to get started on, but this was a little tiny small one. A palate-cleanser, I thought it could be, before I start on the next big thing.

The start of a cross stitch project

It doesn’t take long, with a small project, before you start to see recognisable progress. A cross-stitch kit too, because it contains floss that’s been pre-cut into small, manageable lengths, is always very more-ish. Using a whole length only takes maybe twenty or thirty minutes, so at a weekend or in an evening, it’s always very tempting to just do another.

Further cross stitch progress

If it keeps catching your eye, then within a couple of weeks, you have all the cross-stitching itself finished.

All the crosses stitched

There’s still all the backstitch to do, to give it all some outline. This particular kit has three different shades of backstitch to put in, and I’m not convinced how well some of the very pale backstitching will show up against a background that is, frankly, mostly in shades of medium-grey. Watch this space and we’ll find out.

Self-promotion

A couple of Yuletide videos

It’s still the Yuletide season, although we’re now very much into the time-between-the-years when everybody is grazing on snacks and leftovers, has battened down the hatches against the storms, and has completely forgotten what day of the week it is.*

As it is still Yuletide, though, I thought I’d post a couple of the seasonal Lego videos I put up on my YouTube channel last week, before the holiday season had really got under way. Both of them are Lego build videos, for some seasonal sets that I picked up earlier in the month.

Firstly, a “Winter Holiday Train”…

…and, secondly, Santa’s Workshop

In a few days they’ll be going away ready for next year, but for now, I hope you enjoy them whilst you’re still feeling a little bit seasonal!

* No, don’t ask me either.

Hooked on a pattern (part two)

The crochet continues

The previous post in this series is here.

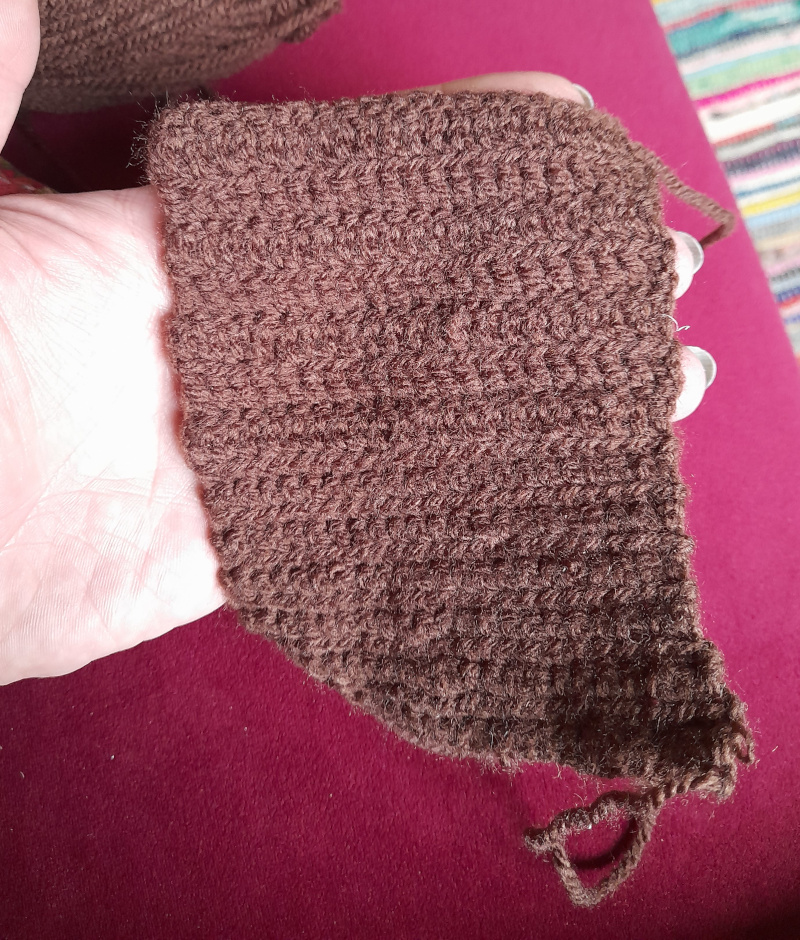
The crochet project I mentioned a couple of weeks ago has been coming along, if sometimes in fits and starts. Practicing my crochet stitches, my test piece came along quite a way, even if I did decide to pull it all down and start again because I was making my stitches far too tight, with the result that I then couldn’t stitch into them very easily on the following row, not without splitting the double-knit yarn. Before long, I had quite a substantial…um…rectangle.

A test piece

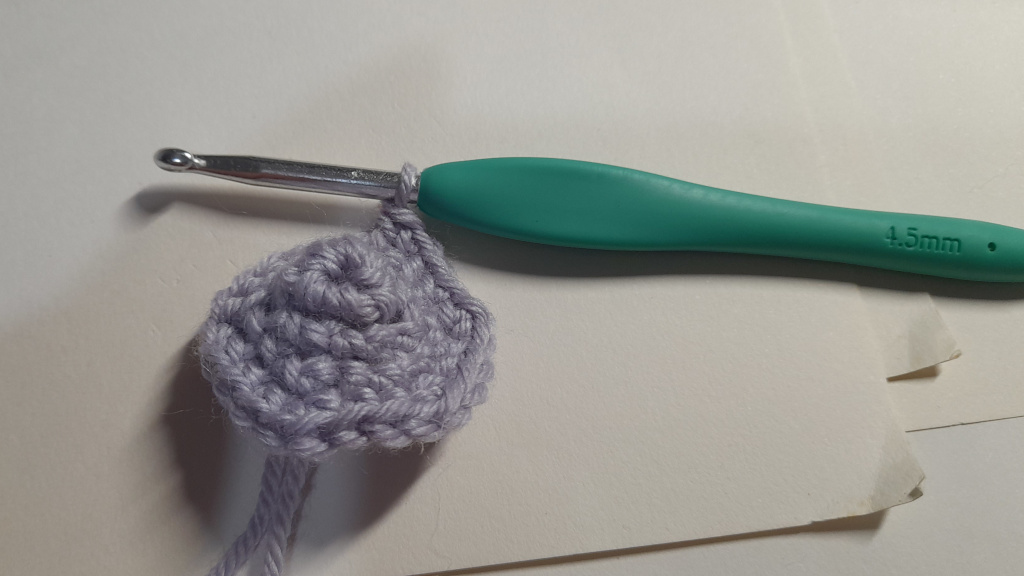
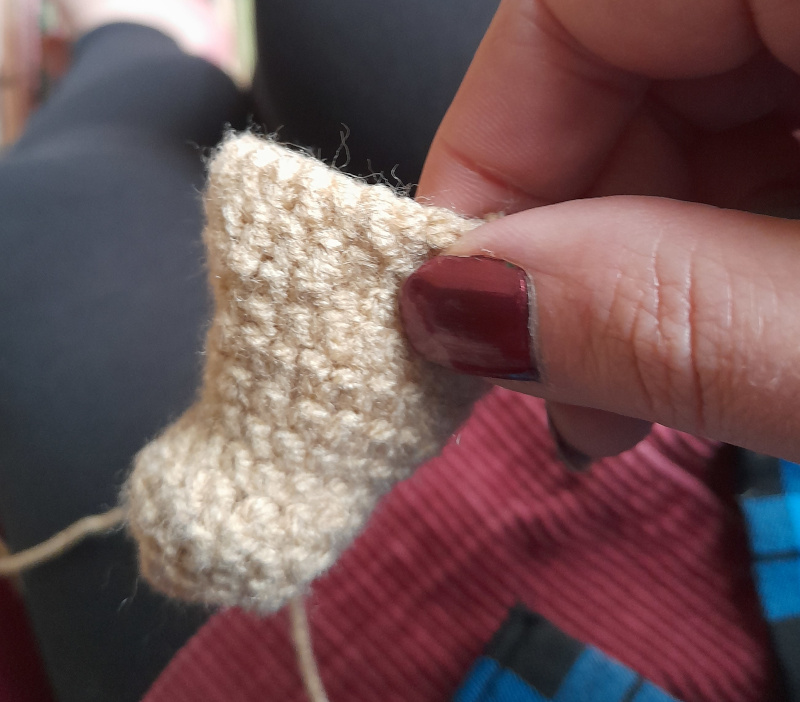
It must, I thought, be time to start on the thing itself. The first round was a little bit fiddly, but I perservered.

The first false start, and my legs

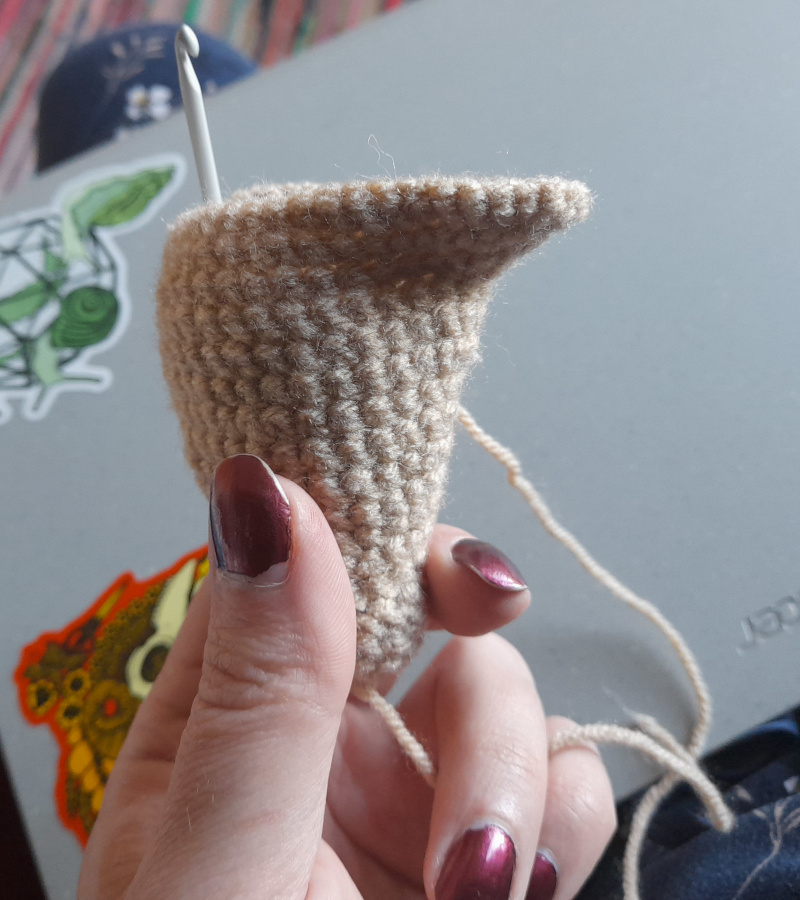
I just wasn’t happy. The shape didn’t seem right. The shape didn’t seem to match the pictures in the pattern, and I’d clearly messed up the start and stitched the second round, but only the second round, into the wrong side of the previous, so one tiny bit of the thing looked like it was inside out. So, pull it all down and start again. The second time, I got somewhat further…

That shape still isn't quite right

…and I still wasn’t happy. Because I seemed to have misread the pattern. Due, I assume, to my misunderstanding of crochet patterns. The pattern gives instructions for stitching each round, ending with “join with slip stitch”, and then a stitch count. The stitch count for each round matches up with the number of stitches produced in the main instructions for each round, minus the slip stitch at the end. Because of this, I was stitching the slip stitch into the first stitch of the round, then starting the next round by stitching into the second stitch. As a result, the whole thing was developing a twist, and as I started to do more asymmetrical increases and decreases the twist was becoming obvious. I begun again, and moreover, did the first round a number of times until I was quite happy with it. I begun again, treating the slip stitch as an extra stitch in addition to the stitch count for the round, and the shape started to make a little more sense.

Finally everything is lined up

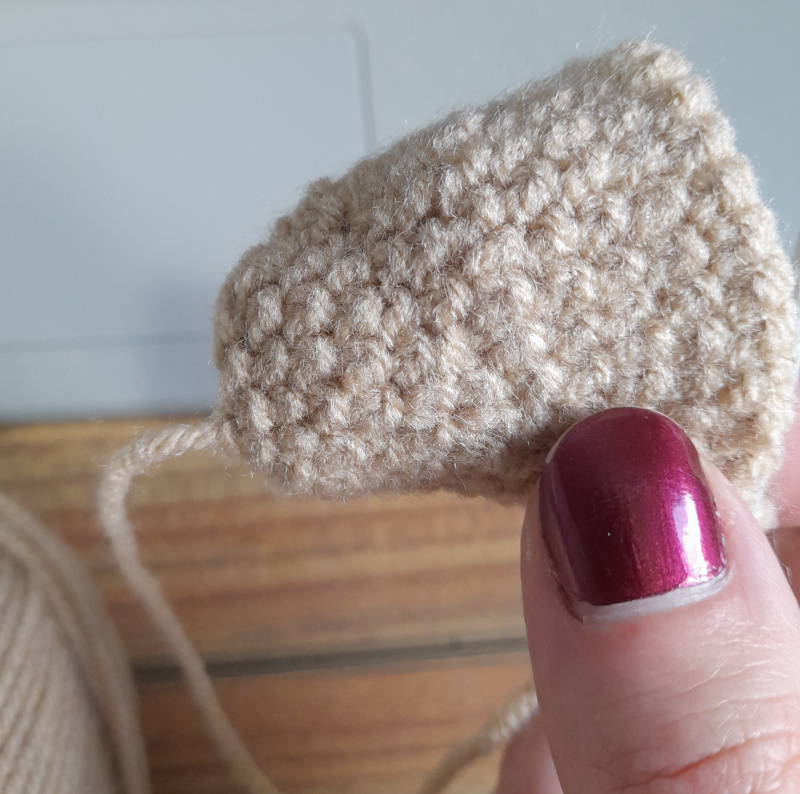
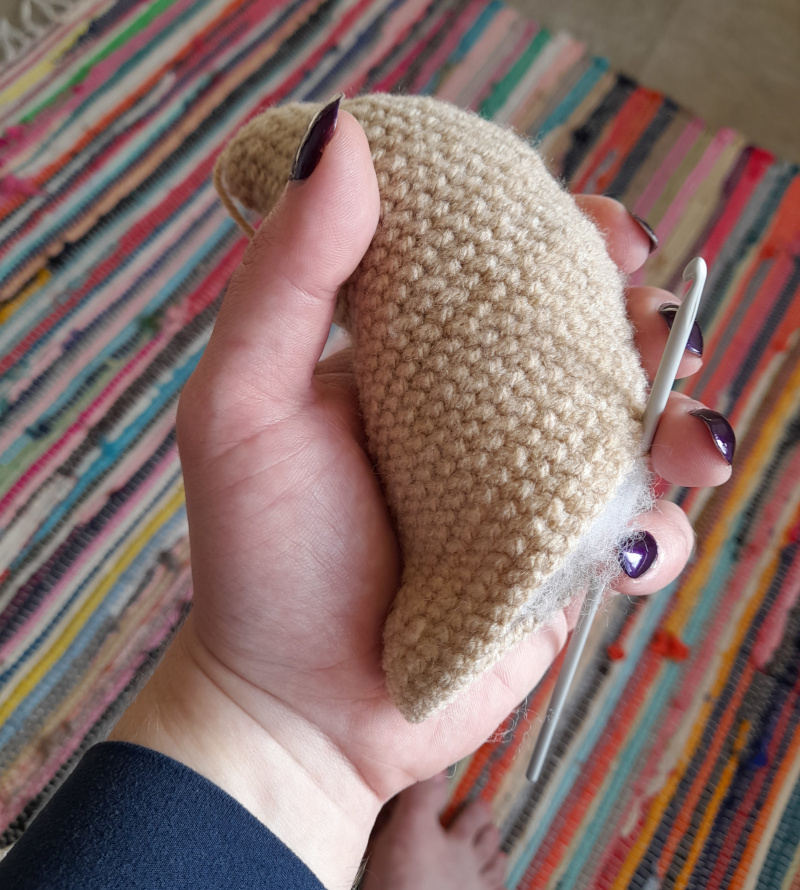
All in all, then, it’s going quite well. I’m now thirty-something rounds into the main body of the thing, stuffing it as I go to help it take up the right sort of shape. It’s a bit lumpy compared to the pattern; it’s a bit larger too, because I’ve used slightly chunkier yarn and a slightly larger hook than the pattern suggested. But so far, I’m pleased.

Actually getting quite big

Whether I’m still going to be pleased when I’m making fiddly little decorative bits that then have to be stitched onto the main body, we’ll have to wait and see.

Hooked on a pattern (part one)

Or, let's not get too crochety

Over the last few months I haven’t done much crafting, for one reason and another, but various crafting projects have slowly built up in my mind, a bit like a slowly-filling bath, until the other day someone sent me a link to an amigurumi pattern they thought I might want to buy, and it finally slopped the water all over the edge of the bath that is my mind and onto the bathroom floor that is my working table. Amigurumi, I should say, is specifically a term for making cute cuddly toys out of crochet.

Now, I haven’t done any crochet for over ten years, and I hadn’t tried to follow a crochet pattern for over ten years before that. On reading the pattern I’d bought, I quickly realised that right this minute my crochet skills are no where near good enough to actually make the thing properly. Rather than give up, though, I started making a trial swatch using the yarn I’d bought, to get used to using it, to remind myself how the various stitches work, and to get used to the difference between American crochet terminology (as used by the pattern) and British crochet terminology (as used by me in the past). They are confusingly similar: to go from American terminology to British you add one to all the names, so a single stitch becomes a double stitch and a double becomes a treble. Within a few minutes really, I had myself a few rows of double single crochet.

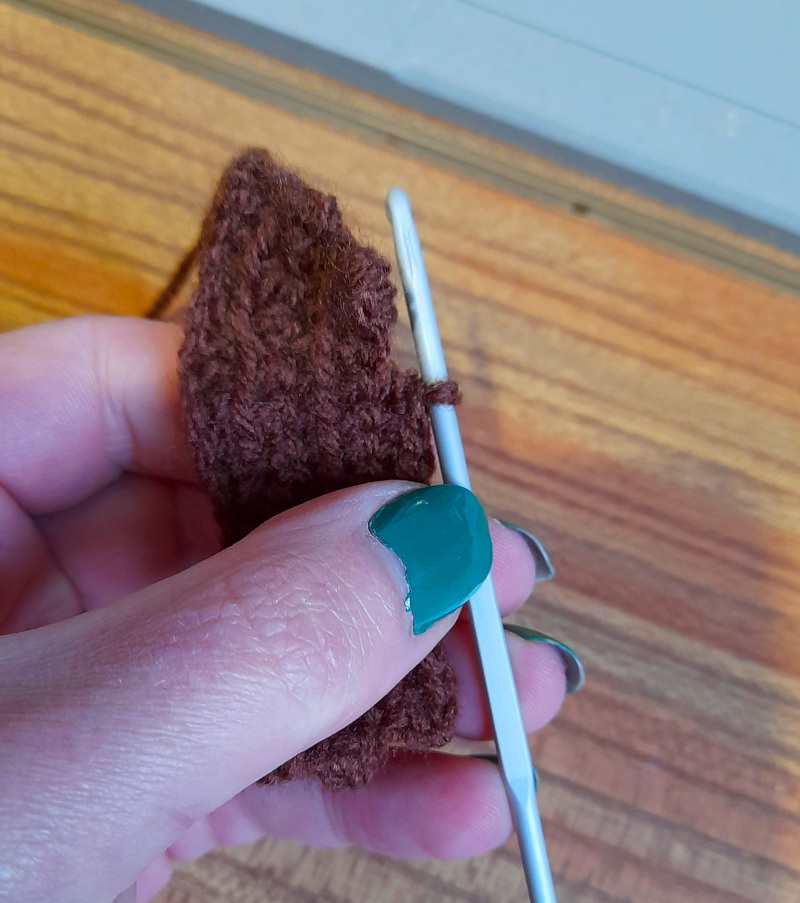
A few rows of crochet

My big mistake was buying the wrong yarn, basically. The pattern said to use “baby yarn”, but the shop I went in didn’t have the right colours, so I went for “double knit” instead, thinking “well it’s the same sort of thickness”. The difference is that double knit is twisted from two strands (hence the name, presumably?) and in my hands, the crochet hook is liable to split the yarn when I try to insert it into a stitch or pull through a tight loop.

Making a practice swatch, though, is definitely a good idea if only so I get myself used to how not to do that. Indeed, when a pattern says “insert hook into next stitch”, exactly where in said stitch do they mean? A few times in my first few rows I accidentally decreased or increased several stitches, from either skipping my hook ahead too far or accidentally putting it back into the previous stitch, giving my test piece a rather wobbly and wrinkled look.

I’m not going to start the pattern itself until I’ve done quite a few rows of every stitch it needs, and until I’ve “got my eye in”, reached the point I can look at the piece and see where each stitch is and which part of each stitch each thread belongs to. That was something I learned years ago doing archaeology: you can’t just come into a new situation, look at a thing, and immediately parse it all visually, immediately see how the different things slot together. You have to “get your eye in”, and let your brain learn how things work in this new context. At first my crochet piece was a uniform brown blob, which is why I made mistakes, but now I’m starting to see what to do.

The next part in this series is here

Yet another crafting project (part eight)

Or, series two, episode five

The latest crafting project was finished last week, after just over seven weeks of work. I was surprised how quickly I finished it, to be honest, considering how much more difficult it was compared to the previous cross-stitch project. I say “finished”: it still needs blocking and framing, which is always going to be the least interesting job in a project like this. Because I’m fairly pleased with how it looks, there’s a larger picture if you click through.

Bumblebee

I’ve already started the next cross-stitch project, which is going to be a much, much easier one; I will actually start a different series of posts for it this time. After only a week or so, it’s already well under way. At some point, too, I’ll pick up all those other projects that have been ongoing since some time last year.

The other posts in this series are part four, part five, part six and part seven.

Yet another crafting project (part seven)

Or, the bee takes shape

We’re a couple of weeks on from the previous post, so it’s time for another update on my current cross-stitch project. This weekend just past, I finished off the last of the cross-stitch itself on this project. Now, I just have the back stitch to do.

Bee

The back stitch that makes up the border (and the lettering at the bottom) will be nice and straightforwards; the back stitch that provides the veining on the wings is going to be rather harder, as it’s in a dark brown thread that doesn’t stand out very well at all against the fabric. By the time of the next update, I suspect I’ll be getting somewhat frustrated.

The previous parts in this series were part four, part five and part six. The final part is part eight.

Yet another crafting project (part six)

Arguably, part three

In lieu of a more informative post—I’m in the middle of researching something in-depth and historical, but everyday life and tiredness keep getting in the way—here’s an update on the current cross-stitch project, a couple of weeks on from the previous one.

It's still a bee

As I’ve gone through it I’ve been leaving aside all the bits that feel as if they would be awkward and fiddly; but now, it feels as if there’s nothing but awkward fiddly bits left. It feels as if progress has slowed down because the overall outline hasn’t changed much; but there are an awful lot of colours now which I’m fairly sure I’ve completely ticked off the list.

The previous parts in this series were part four and part five. The next parts in this series are part seven and part eight.